

Pinterest is unlike any other social media marketing platform out there. Instead of users sharing their own thoughts (trivial and otherwise) to the world or sharing pictures of their family, people come here to find content. The majority of Pinners come for some combination of browsing and to research purchases or projects, meaning they're highly receptive to high-quality content that fits their needs.
This is an extraordinary opportunity for businesses in commonly-researched topics on the platform, as this is a high-intent audience who is more than willing to make buying decisions based on what they discover on platform.
While there's a lot you can do to have success marketing on Pinterest, one of the most crucial is to set up a business account and know how to optimise it. In this post, we're going to take a look at what you need to know about Pinterest accounts for business, including how to get started and how to leverage it to build your brand and increase sales.
Pinterest Accounts for Business: What’s Different
When Pinterest first rolled out, business accounts didn’t exist. As a result, many created profiles for their brand with a standard personal account. Others have since started using their personal account for business purposes, whether it’s because they’d built up a following or had started a business since.
The good news is that personal accounts can be converted into business accounts easily, and we’ll show you how to do that in a minute.
But first we want to explain why Pinterest accounts for businesses are so important, and how they’re different from personal accounts.
The main difference is that you’ll have access to a suite of business features that personal accounts don’t have. This includes the following:
- The ability to create Rich pins from your site, which are dynamic and can be updated when the product page is. If a product’s price changes on your site, for example, that change can automatically be updated in a Rich pin, too.
- Access to native analytics. Pinterest’s analytics aren’t quite as advanced as other native analytics on platforms like Facebook, but they’re still helpful. See how people are interacting with your content, what’s performing best, and learn more about your on-platform audience. These are all important pieces of the Pinterest marketing puzzle that you need to optimise your campaign.
- The ability to run ad campaigns. Want to create Promoted Pins through the ad system? You’re going to need a business account to do so.
Business accounts will automatically be public, though you can convert it back to a personal account at any point if you chose. There’s no downside to using a business account, and a long list of strong advantages.
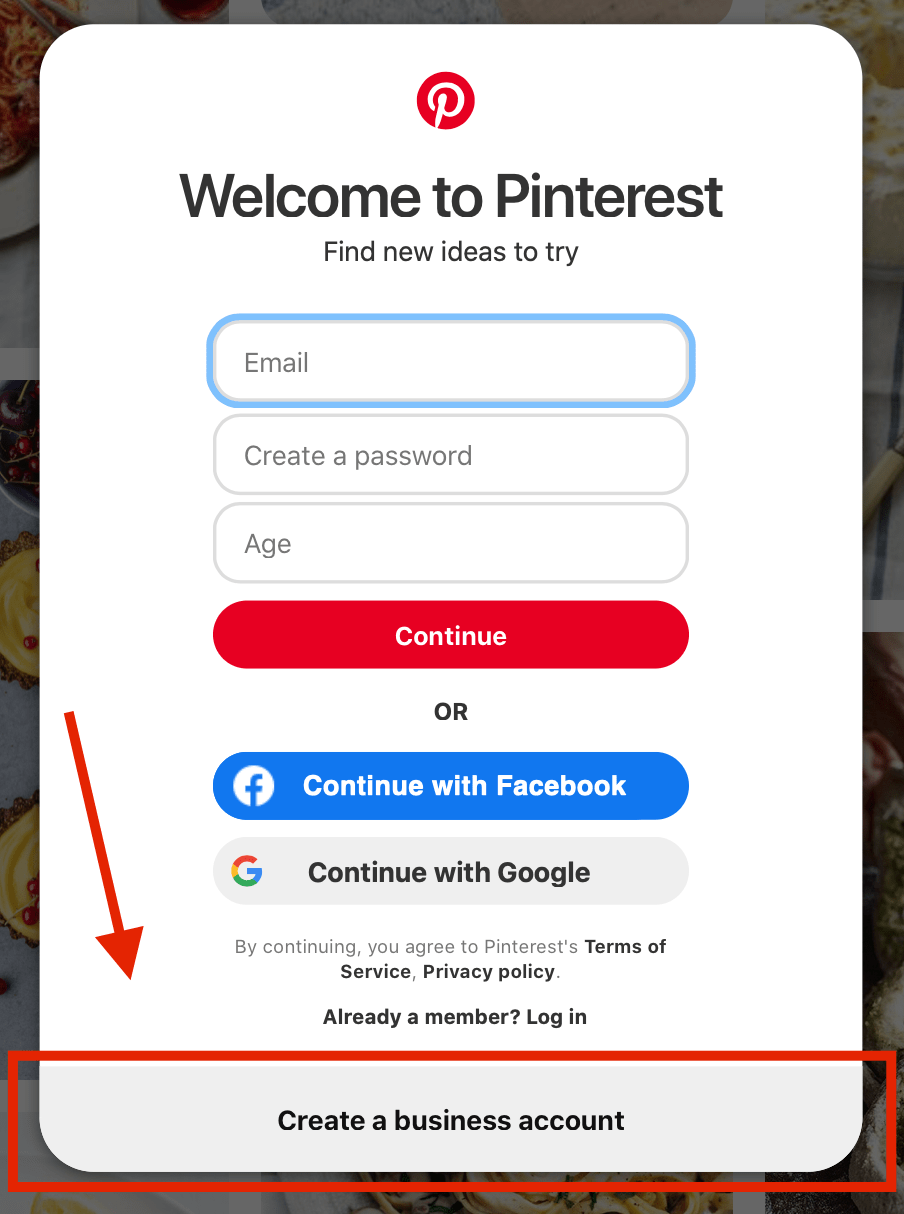
If you haven’t signed up at all for Pinterest, you can start by creating a business account right off the bat here. Just make sure you click the “business account†at the bottom.
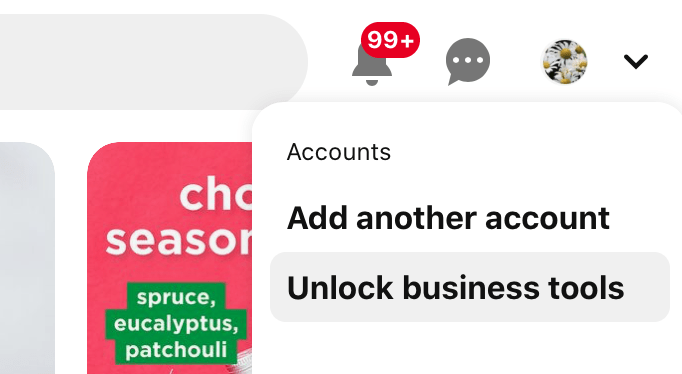
If you have a personal account that you want to convert to a business profile, click the small drop down menu next to your profile picture at the top right corner of the page, and select “Unlock business tools.†You can then click the prompt to convert to a business account, which takes effect immediately.
How to Set up Your Pinterest Business Profile
After you create your profile, you’ll want to make sure that it’s fully optimised to show up in search, engage users, and convey your brand’s unique selling proposition properly.
Let’s look at how to do this.
Complete Your Entire Profile
You can edit your profile by clicking on the drop down menu in the top right corner, and selecting “Settings.†This will open a tab that allows you to edit your profile.
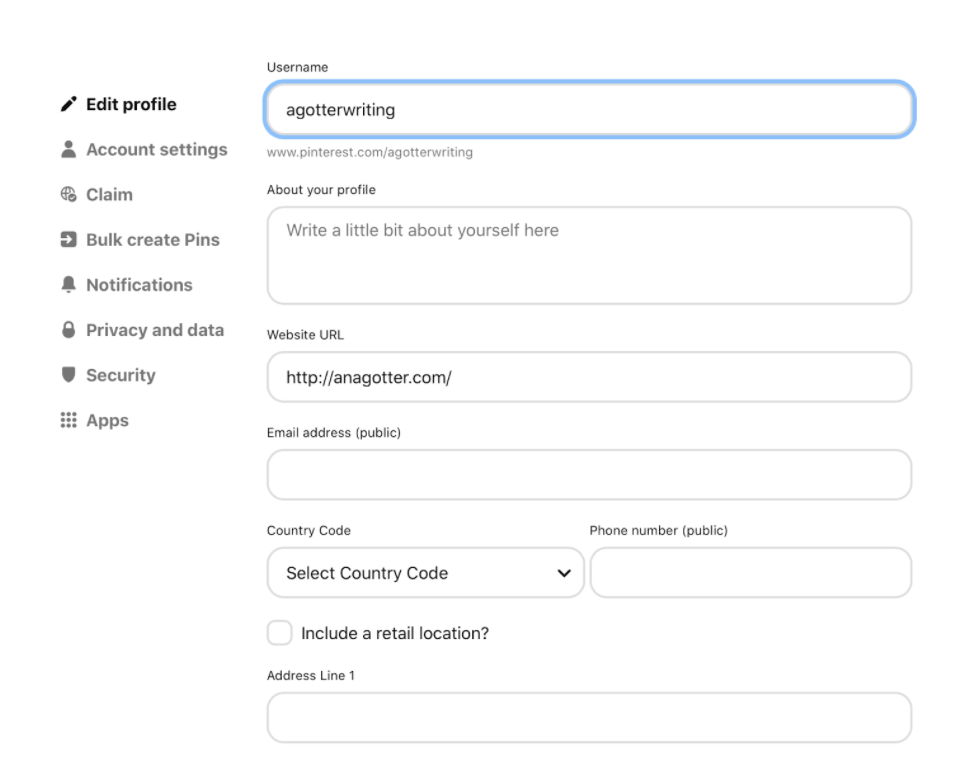
You want your profile to be as completely as possible, adding in any information that you want to be public. This can include an email address if you want users to contact you through email, a phone number, or a physical address. Note that if you don’t want people to contact you through these means, it is best to leave them blank.
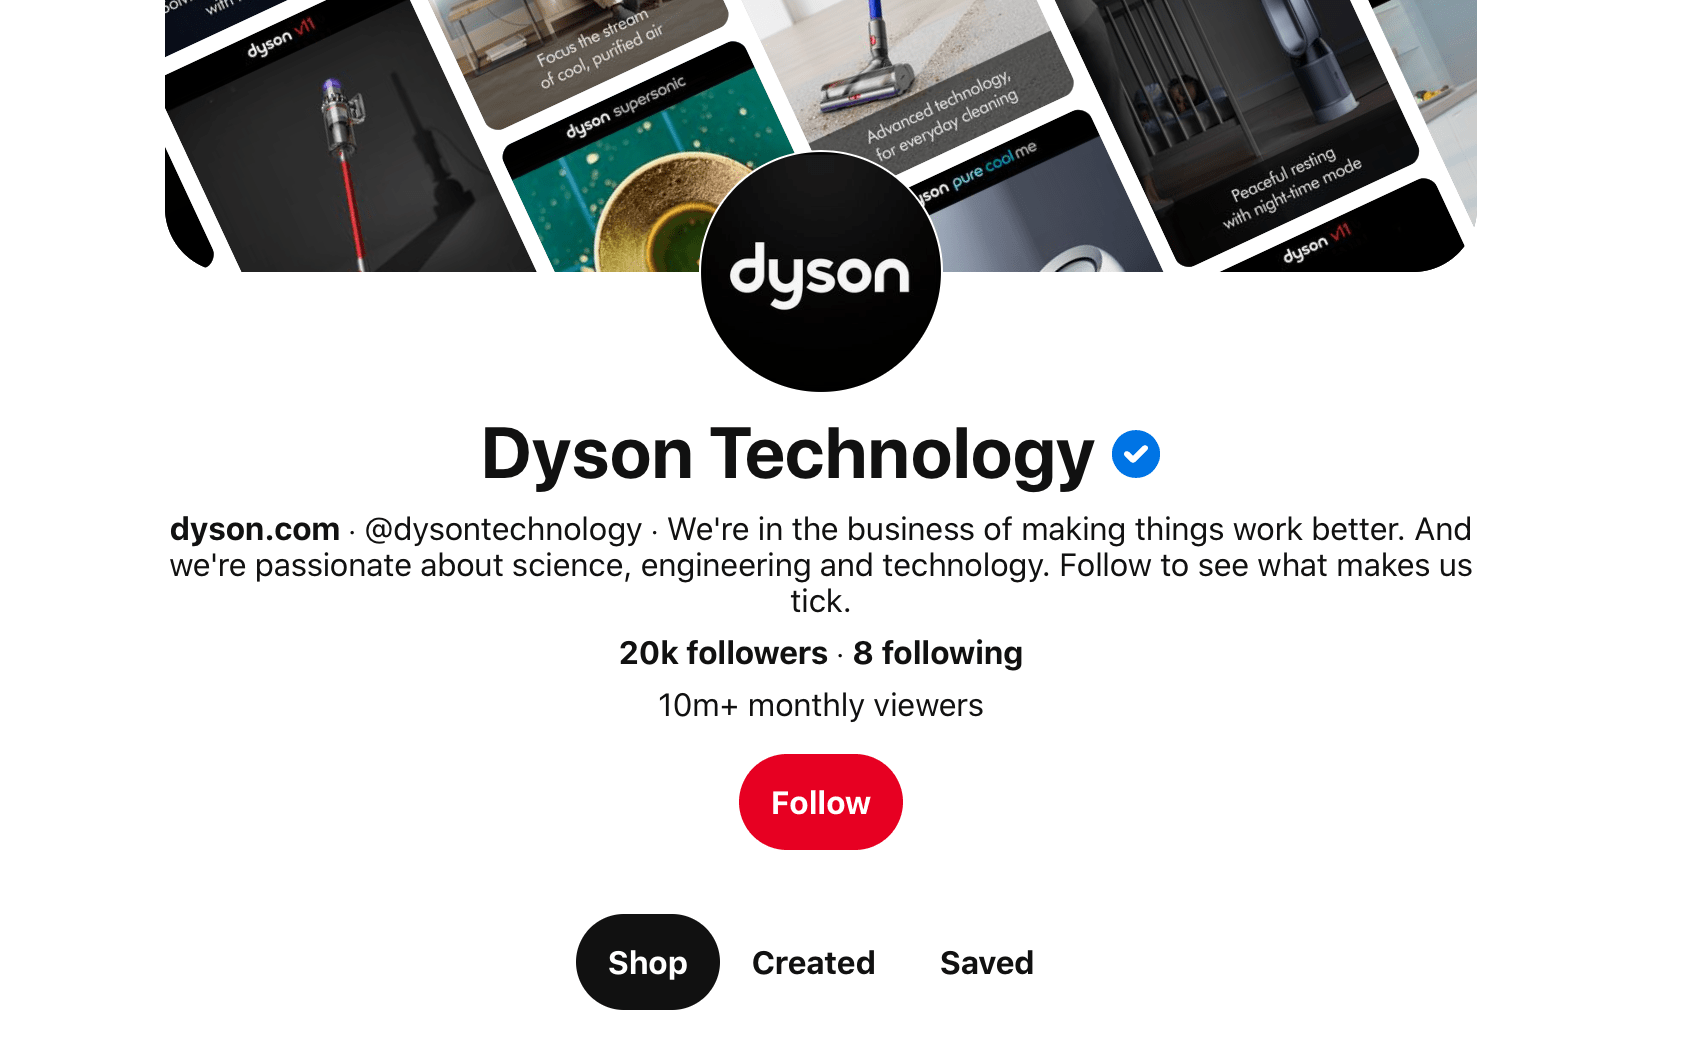
Choose a username that’s easy to find if people are searching for you, and that’s self-explanatory. Add your website URL, and write a strong, engaging description that explains what you do, what makes your brand unique, and what you’re doing on Pinterest. You can see a great example here from Dyson:
You’ll also want to update your profile’s cover photo. The default is a collage of your pins. Choosing to highlight top products or pins in this image may be a good choice, or using images that show what your brand is all about.

Account for Keywords
We know that Pinners are already fairly high-intent audiences, as they’re using the search feature to research products, services, and brands for future buying decisions. Remember that people can’t buy from you if they can’t find you.
Take keywords into account when you’re setting up your profile. Add keywords to not only your pins and boards, but even your account name and description. This will help with search visibility significantly, putting you directly in front of a target audience.
Keep Your Logo Consistent
Your business (or your client's) likely already has a Facebook and an Instagram, and maybe a LinkedIn, Twitter, TikTok, and Snapchat, too. This means that you've got profile pictures on multiple other platforms. This isn't the time to change it up; consistency is key for brand awareness and recognition.
Use the same profile picture that you’re using on other platforms for your brand.
How to Claim Your Website on Pinterest
When you “claim†your business website on Pinterest, what you’re really doing is verifying that your brand is who you claim to me while also providing a vital link between the two sites.
You also get:
- Advanced analytics for the pins you publish directly from your site and the pins that others create from your site
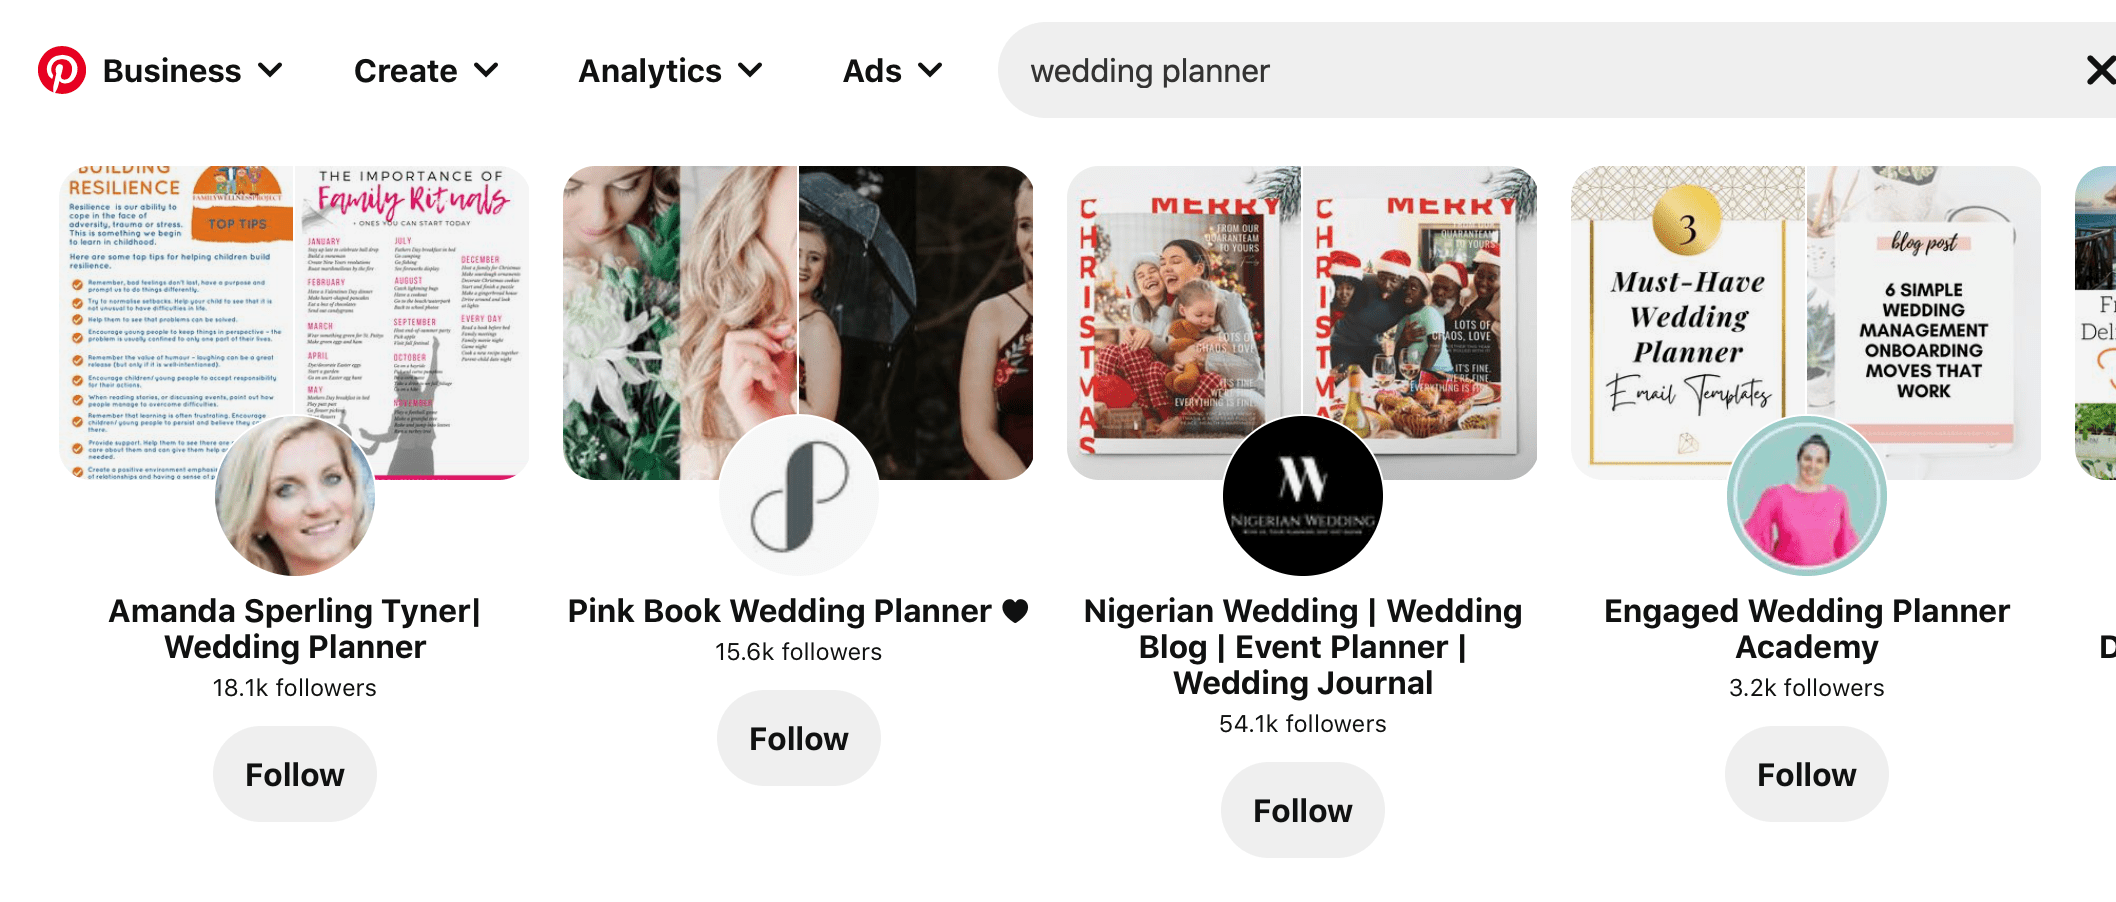
- Your profile picture (which should be your logo!) will show up next to all pins created from your site, along with a “follow†button
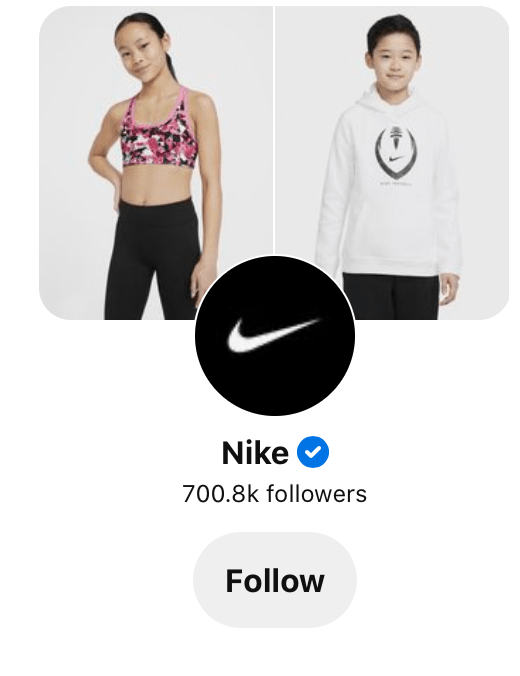
- The “globe-checked icon†(aka the blue checkmark) next to your brand name, earning you instant credibility
You can claim more than one website, but it must be either at a second-level domain (like www.website.com), a subdomain (www.ads.website.com), or a subpath domain (like www.website.com/uk).
Claiming Your Website, Step by Step
In order to claim your website, you must use a desktop (laptops are fine).
Then follow these steps:
Go to your settings and then choose “Claim.†You’ll see the option to claim different types of accounts. We’ll claim the site for now, so click on it.
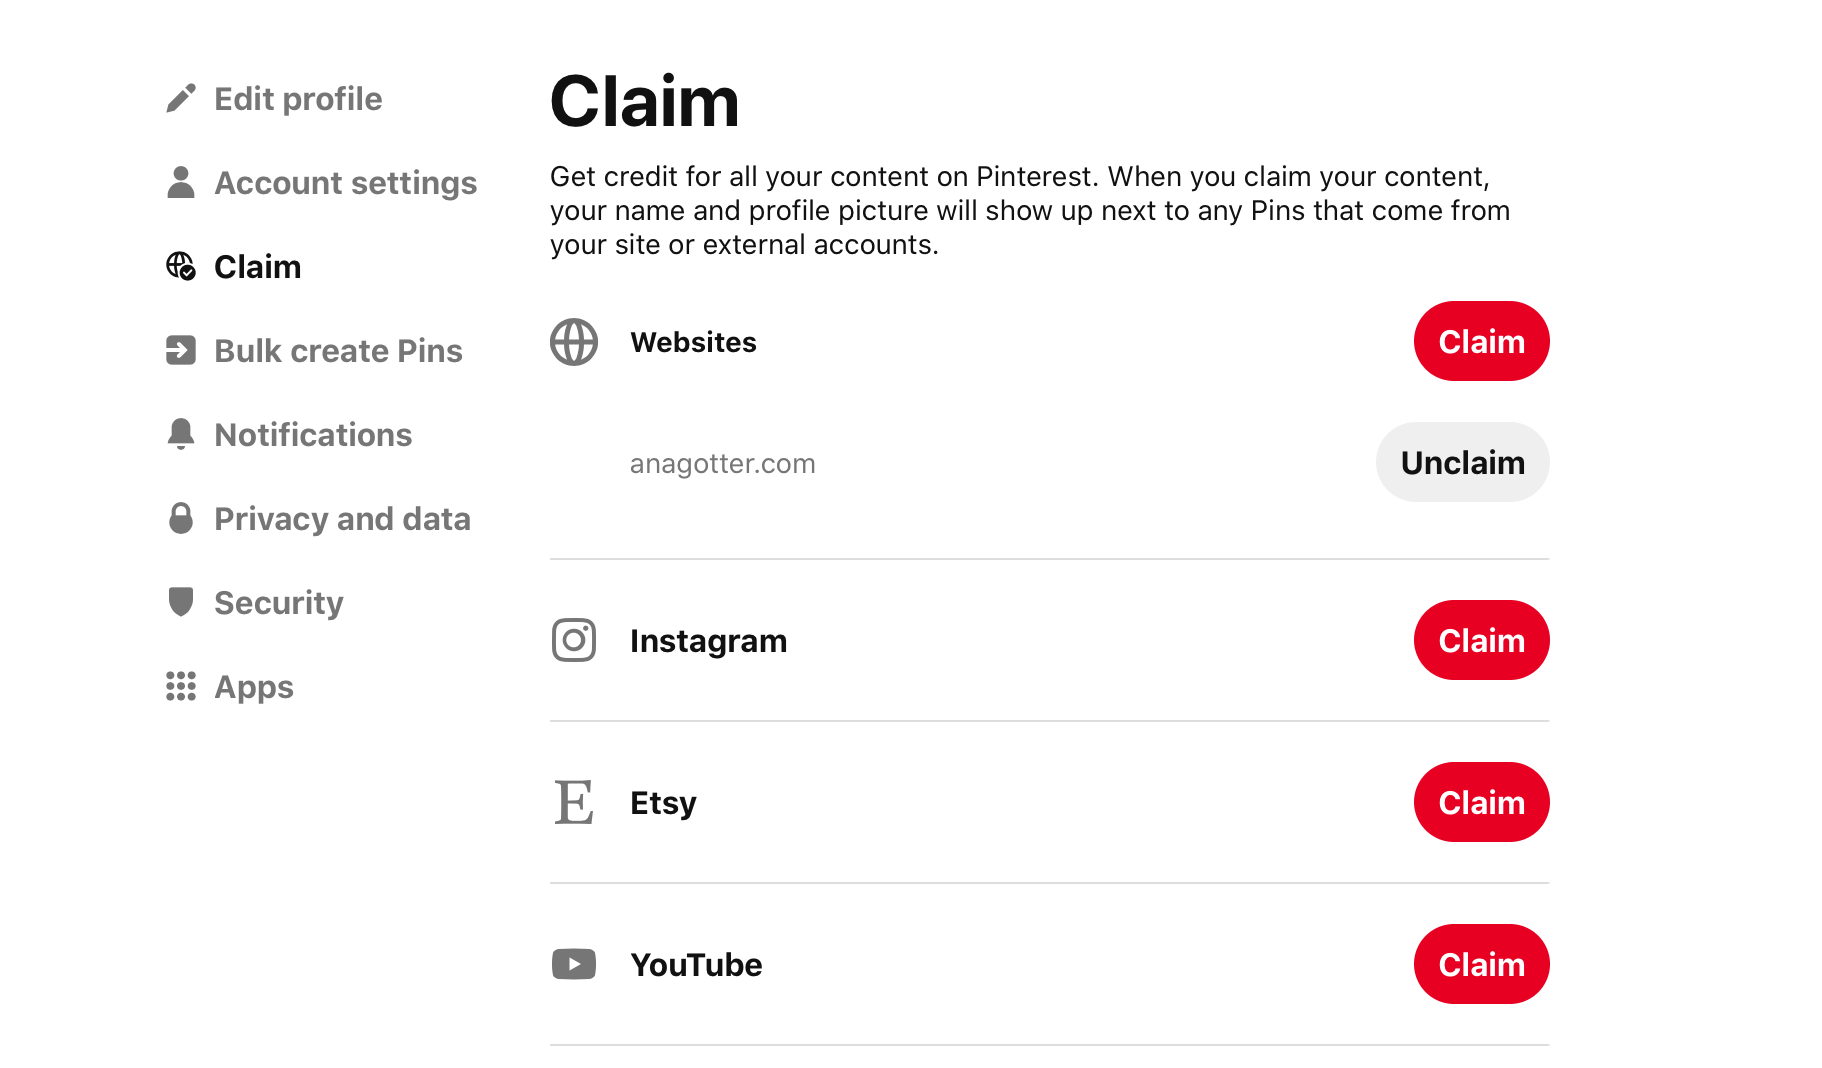
You’ll be given two key options. You can add an HTML tag to your site (or upload an HTML file to your site), or add a DNS TXT record to your domain host. Some sites like Etsy, Instagram, YouTube, and SquareSpace will have options to instantly connect through native settings.
All of these are equally effective, and you can access specific instructions for your site host here.
A quick and easy solution for businesses is to use widgets that allow you to add snippets of code to a site without actually knowing how to code. You’ll download a plugin like WP Beginner’s Insert Headers and Footers, and then simply copying the code from Pinterest into the plugin.
How to Set Up Product Pins & A Pinterest Shop
Product Pins are essentially what used to be known as “Shoppable†pins. They’re rich pins, so they’re locked and loaded with metadata that will dynamically display relevant pricing information, availability, product title, and product descriptions.
You can create product pins from one of two different options:
- Catalogs, which is exceptionally scalable. You upload a data source of products. These can be promoted as shopping ads.
- Rich pins, which can be saved directly from a product page on their website. They’re convenient, but they can’t be promoted as “shopping ads.†You also must be part of the Verified Merchant program, which you can apply for here.
For many ecommerce businesses, setting up a product catalog will be the way to go.
How to Set up a Catalog on Pinterest
First, you’ll want to set up a data feed that can be updated dynamically with relevant information like price, availability, and changing product descriptions.
Your data source must use one of the following format options, which you can receive templates of here:
- TSV
- CSV
- XML (RSS 2.0)
You must include the following fields:
- Product ID
- Product title
- Product description
- Link to product
- Image link
- Price
- Availability
It will look like this:

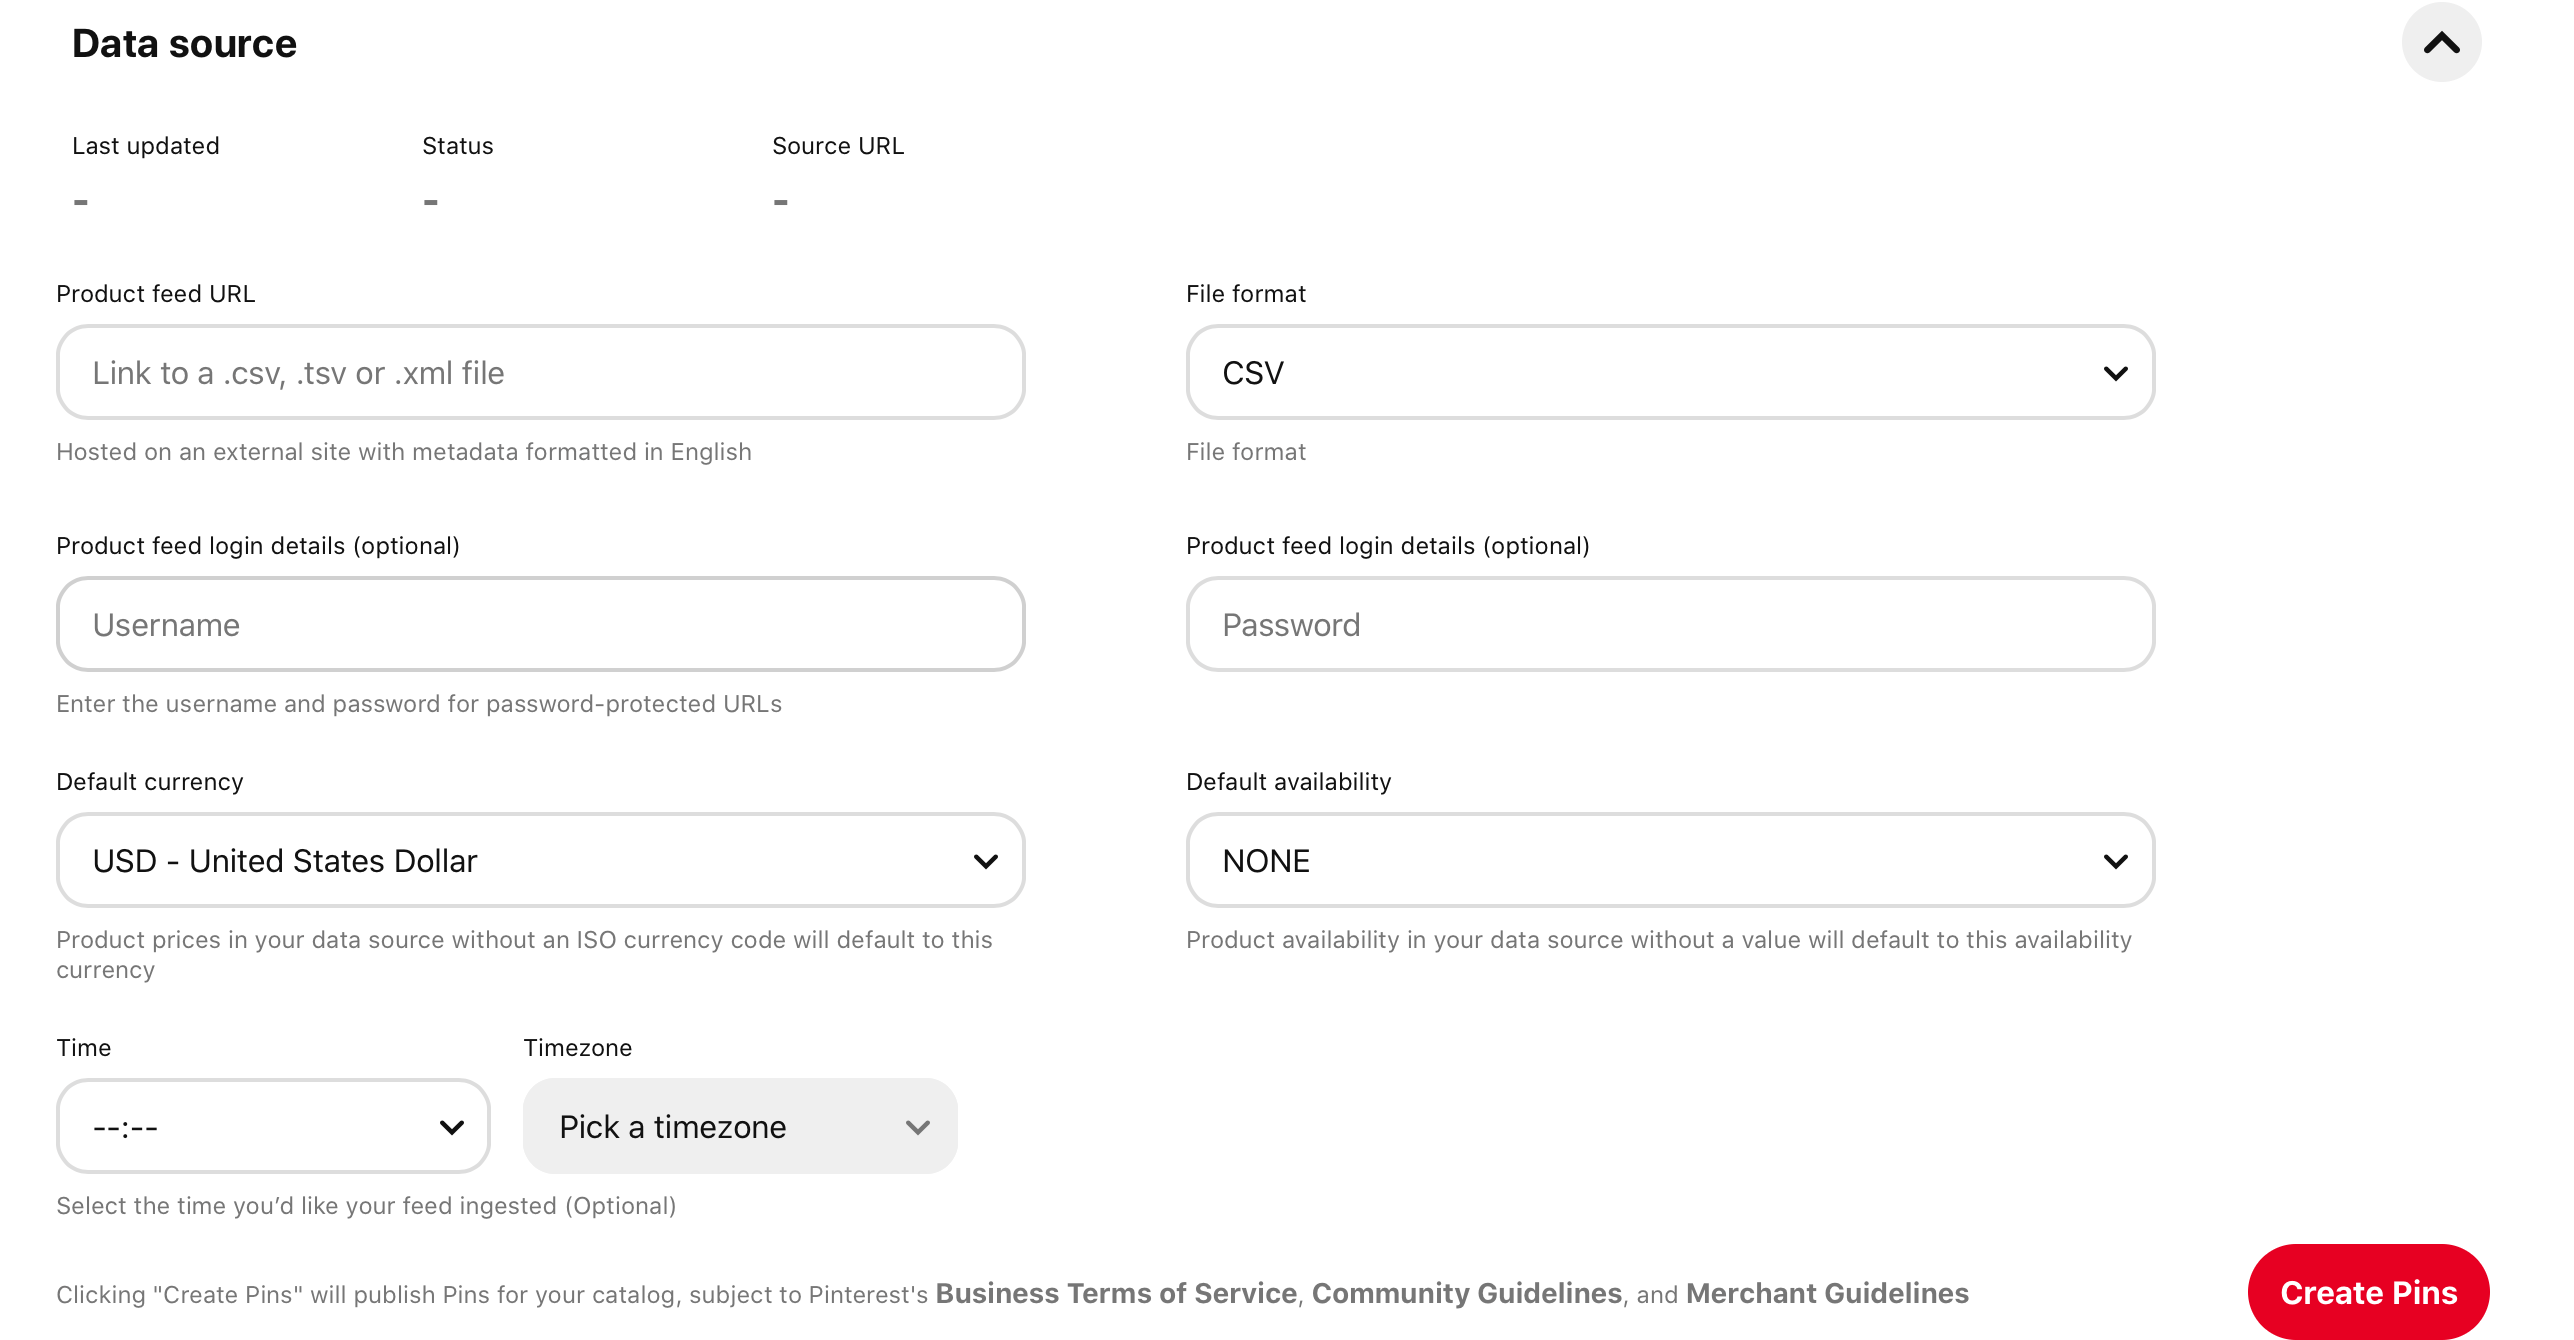
Then, head here. You’re going to link to the product feed URL, enter in what type of file format you’re using, and enter in login details or passwords as necessary. Remember that Pinterest must be able to access the feed to update your products dynamically. Set your currency, the default availability, and your time zone.
You can now use these pins to create product groups, shopping ads, and essentially a virtual storefront on Pinterest.
How to Access Your Pinterest Analytics
Analytics is a crucial part of social media marketing, and that’s just as true for Pinterest as it is for other platforms. You want to know what content is performing best and why.
Pinterest’s analytics have come a long way in the past few years, so let’s take a quick look at what you can learn from them.
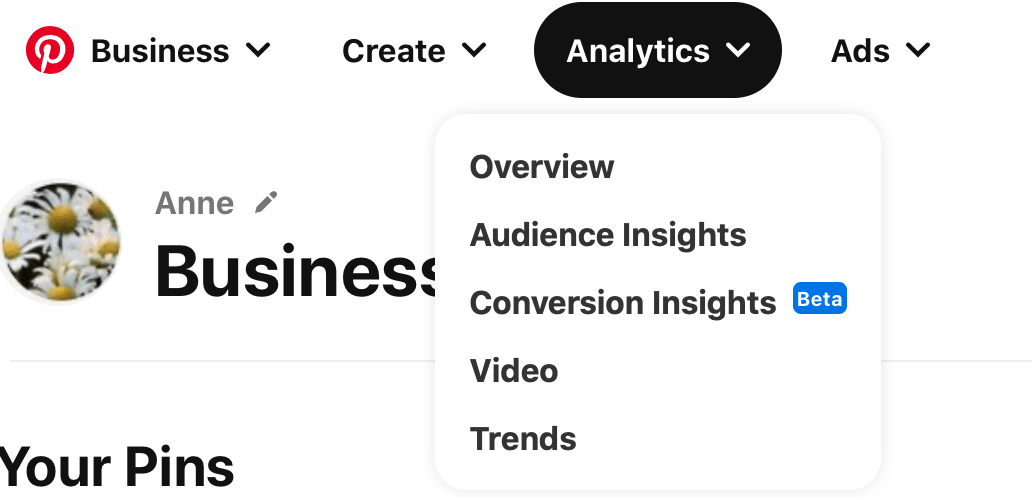
To access your Pinterest Analytics, simply click on the “analytics†tab in the top left corner.
With your analytics, you can learn the following:
- How many impressions and engagements your pins have received. Engagements can include close up views, clicks, saves and comments.
- The number of people who engaged with your pins within a set period of time.
- The difference in performance between organic pins and paid/promoted pins.
- Video analytics like total play time, number of views, played at 95%, and 10-second views.
- Conversion information for ad campaigns.
- Audience information including demographic data, interests, location, and devices used.
You’ll want to use your analytics to do the following:
- Identify top-performing pins & troubleshoot as necessary. Look for trends in performance; are people viewing your pin at large numbers but not clicking or saving? That could mean that the picture is great, but that it’s not what they’re looking for.
- Learn more about your on-platform audience. Look at their demographics and interests. Are you missing any audience niches here? Conversely, look for new opportunities to engage your existing audience. If you have a blog about food and drinks and see that a large portion of your audience likes gardening, create a blog post (and pins) about recipes made with ingredients common in local herb gardens.
- Track your ad campaigns closely. If you’re running Promoted Pins, keep a close eye on your campaigns so you can adjust them as needed. Market trends can shift quickly, so keep that in mind.
Final Thoughts
Pinterest doesn’t always get all of the attention it deserves, even amongst the eCommerce industry, but that’s all the more reason for your business (and your clients!) to take advantage of it as soon as possible.
Make sure that you’re using Pinterest accounts for business, and that it’s fully optimised and set up for success with advanced selling features. This can help you not only drive brand awareness but immediate sales, too.


Share:
It's All About Pinterest